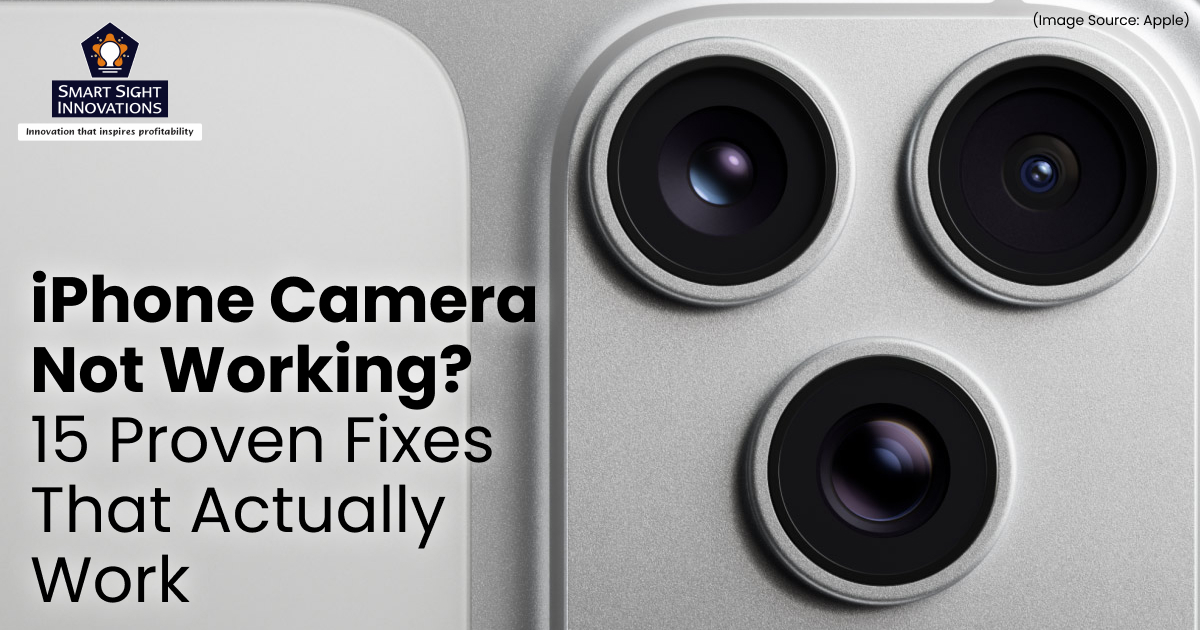
Your iPhone camera is one of the most essential features of your device, helping you capture memories, scan documents, and stay connected through photos and videos. So when it suddenly stops working, whether it’s showing a black screen, producing blurry images, or refusing to open, it can be both frustrating and inconvenient.
The issue can stem from something as simple as a temporary software glitch or as serious as a hardware fault. The good news is that most camera problems can be resolved without professional help.
Let’s explore practical, easy-to-follow solutions for the most common iPhone camera problems. From quick troubleshooting steps to more advanced fixes, you’ll be able to restore your camera’s performance and prevent similar issues in the future.
Why Is Your iPhone Camera Not Working?
(Image Source: Apple)
There are several reasons why your iPhone camera may suddenly stop working or fail to perform as expected. In many cases, the issue is linked to minor software glitches that occur when apps freeze, crash, or conflict with one another. An outdated iOS version can also introduce bugs that affect camera performance, making it important to keep your device updated.
Storage limitations are another common factor. When your iPhone is running low on space, it may struggle to process photos or videos efficiently, leading to lag or errors. Additionally, certain app permissions or background processes can interfere with how the camera functions.
On the hardware side, physical obstructions such as dust, fingerprints, or even an improperly fitted case can block the lens and impact image quality. Overheating can also temporarily disable camera features, especially during extended use or in hot environments. In more serious cases, accidental drops or water exposure may damage internal components.
Understanding the underlying cause is the first step toward fixing the problem effectively and restoring your camera to normal performance.
Quick Fixes You Should Try First
The below quick steps can often resolve common iPhone camera issues caused by minor glitches or temporary system hiccups.
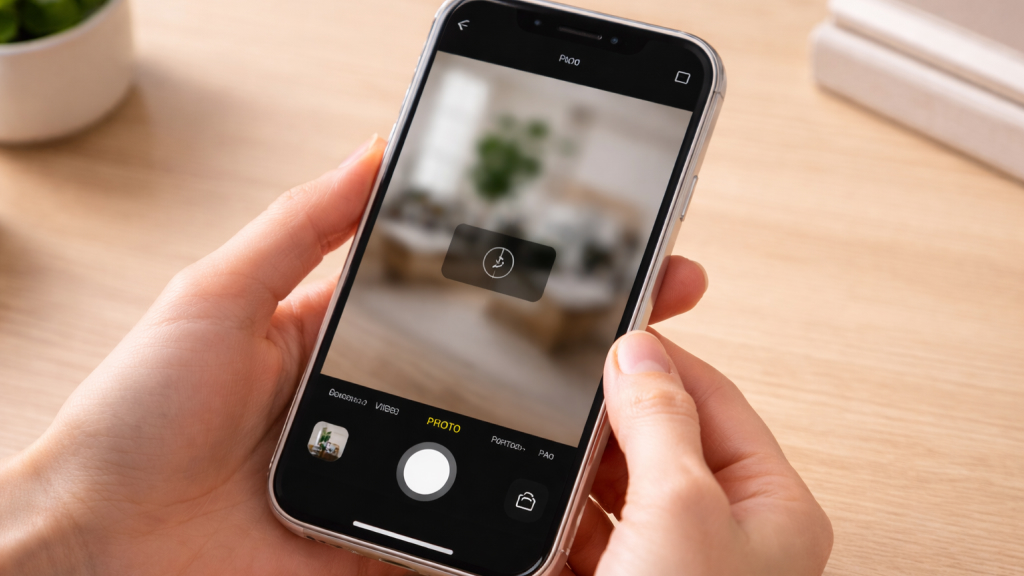
1. Close and Reopen the Camera App
(Image Source: Apple)
The Camera app, like any other app on your iPhone, can occasionally freeze, crash, or fail to load properly due to temporary bugs. When this happens, force-closing and reopening the app can quickly restore normal functionality. To do this, open the app switcher by swiping up from the bottom of the screen (or double-pressing the Home button on older models), then locate the Camera app and swipe it away to close it completely.
Wait a few seconds before reopening it. This process clears the app’s temporary state and refreshes its processes, which can fix issues like a black screen, lag, or unresponsive controls. It’s one of the simplest yet most effective fixes and should always be the first step when your camera isn’t working as expected.
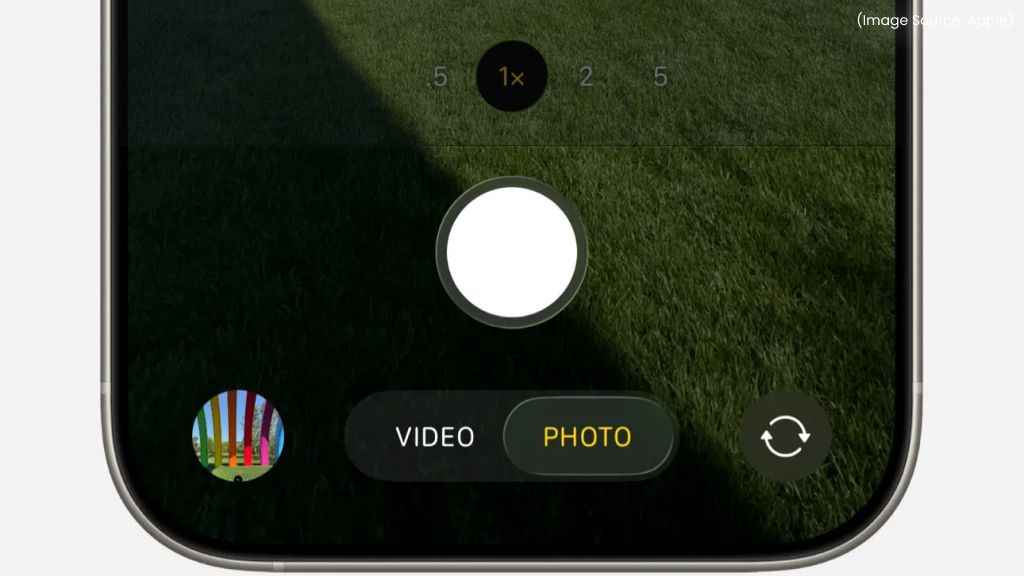
2. Switch Between Front and Rear Cameras
(Image Source: Apple)
If your iPhone camera isn’t working properly, switching between the front and rear cameras can help identify and sometimes fix the issue. Open the Camera app and tap the camera flip icon to toggle between the two lenses. Do this a few times and observe how each camera responds. If one camera works while the other doesn’t, the problem may be isolated to a specific lens, which could indicate a hardware issue.
On the other hand, if both cameras briefly start working after switching, it may simply be a temporary software glitch that has been resolved. This quick test not only helps diagnose the problem but can also reset the camera system in some cases, making it a useful troubleshooting step before trying more advanced solutions.
3. Restart Your iPhone
(Image Source: Apple)
Restarting your iPhone is a classic troubleshooting step, but it remains one of the most reliable ways to fix unexpected issues, including camera problems. When you restart your device, it clears temporary files, stops background processes, and resets system functions that may be causing the camera to malfunction. To restart your iPhone, power it off completely, wait for about 20–30 seconds, and then turn it back on.
This short pause allows the system to fully shut down and refresh itself. Many users overlook this step because it seems too simple, but it can resolve issues like app crashes, black screens, or delayed camera response. If your camera problem is caused by a minor software conflict, a quick restart is often all it takes to get things working again.
4. Test the Camera in Another App
(Image Source: Apple)
Testing your iPhone camera in a different app is a smart way to determine whether the issue is related to the Camera app itself or the hardware. Try opening apps like FaceTime, WhatsApp, or Instagram and access the camera feature within them. If the camera works normally in these apps, the problem is likely limited to the default Camera app and may be resolved with a simple reset or update.
However, if the camera fails to function across multiple apps, it could indicate a deeper issue, possibly related to hardware or system-level software. This step helps narrow down the root cause, saving you time and effort by guiding you toward the most appropriate fix rather than trying random solutions.
If these quick fixes didn’t resolve the issue, it’s time to try more advanced troubleshooting. These software-based solutions are often effective in fixing persistent camera problems.
5. Update iOS
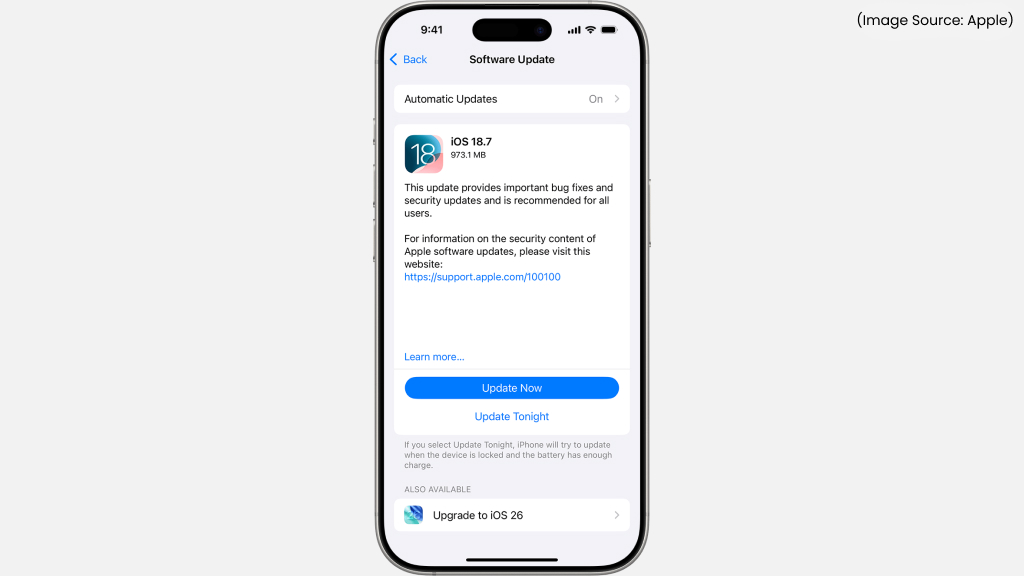
(Image Source: Apple)
Running the latest version of iOS is essential for keeping your iPhone’s camera functioning properly. Apple regularly rolls out updates that address software bugs, improve overall performance, and refine built-in apps, including the Camera. If your camera issue is linked to a system glitch or outdated software, installing the newest update can often resolve it quickly.
To check for updates, head to Settings > General > Software Update and download any available version. Before proceeding, ensure your iPhone is connected to a stable Wi-Fi network and has enough battery life. Creating a backup beforehand is also a smart precaution to protect your data.
Postponing updates may seem harmless, but older software versions can lead to stability issues, app crashes, or reduced performance over time. Keeping your iPhone up to date not only helps fix existing problems but also ensures smoother operation and better compatibility with newer apps and features.
6. Check Camera Permissions
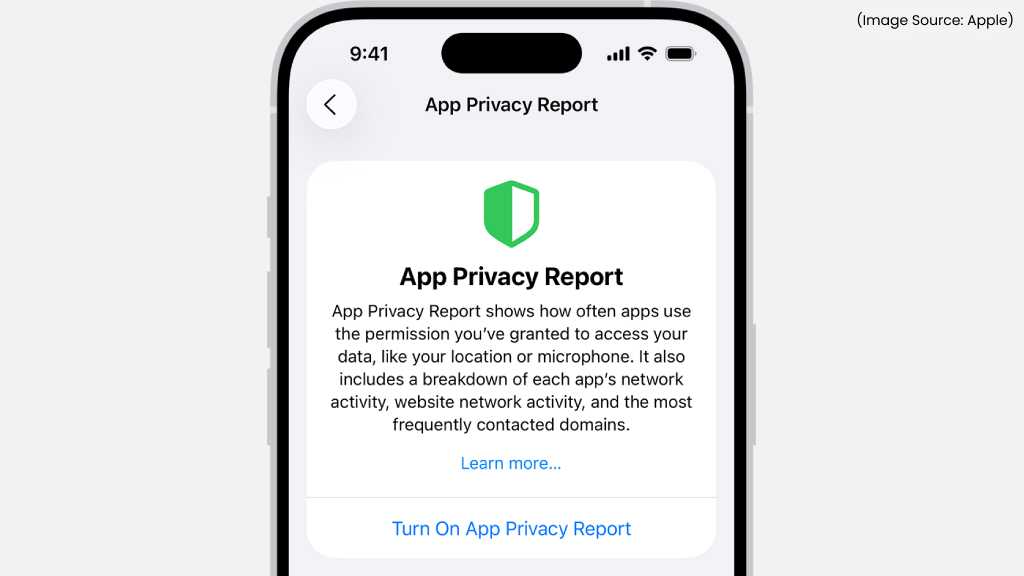
(Image Source: Apple)
Problems with the iPhone camera can sometimes be linked to how apps are allowed to use it. Many apps request camera access, and if too many apps are enabled, or if permissions aren’t set correctly, they can occasionally cause conflicts or unexpected behavior. To review and manage access, go to Settings > Privacy & Security > Camera and see which apps are currently allowed to use your camera.
If you notice apps you don’t recognize or no longer use, it’s a good idea to turn off their access. This can reduce interference and also strengthen your privacy. If a particular app isn’t working properly with the camera, try switching its permission off and then back on again to refresh it. You can also temporarily disable access for most apps and then re-enable them one by one to identify if a specific app is causing the issue. Keeping camera permissions organized and limited to trusted apps helps ensure smoother performance and fewer unexpected problems.
7. Free Up Storage Space

(Image Source: Apple)
Limited storage can slow down your iPhone and affect how smoothly the Camera app works. When your device is close to full capacity, it may struggle to capture photos, save videos, or even launch the camera without delays. This can lead to lag, app crashes, or failed captures.
To review your storage, go to Settings > General > iPhone Storage and check how much space is available. If you’re running low, start by removing apps you no longer use, clearing out large videos, and deleting duplicate or unnecessary photos. You can also enable features like offloading unused apps or transfer files to cloud storage to free up space without losing important data.
Maintaining some free storage helps your iPhone run more efficiently overall, not just the camera. Even freeing up a small amount of space can improve responsiveness and reduce glitches. If your camera problems are tied to performance issues, clearing storage is often a quick and effective fix.
8. Reset All Settings

(Image Source: Apple)
If your iPhone camera continues to misbehave, restoring system settings to their defaults can help resolve underlying issues. Over time, various adjustments, either made by you or by installed apps, can unintentionally affect how certain features function, including the camera. Resetting all settings clears these configurations and brings everything back to a clean baseline without removing your personal data like photos, apps, or messages.
To proceed, head to Settings > General > Transfer or Reset iPhone > Reset > Reset All Settings. After the reset, you’ll need to reconnect to Wi-Fi networks, reapply display preferences, and adjust other system settings to your liking. Although it requires a bit of reconfiguration, this step is often effective in fixing stubborn software-related problems that aren’t easy to pinpoint. It’s a practical option to try before moving on to more drastic measures, such as a complete device reset.
9. Factory Reset (Last Software Option)
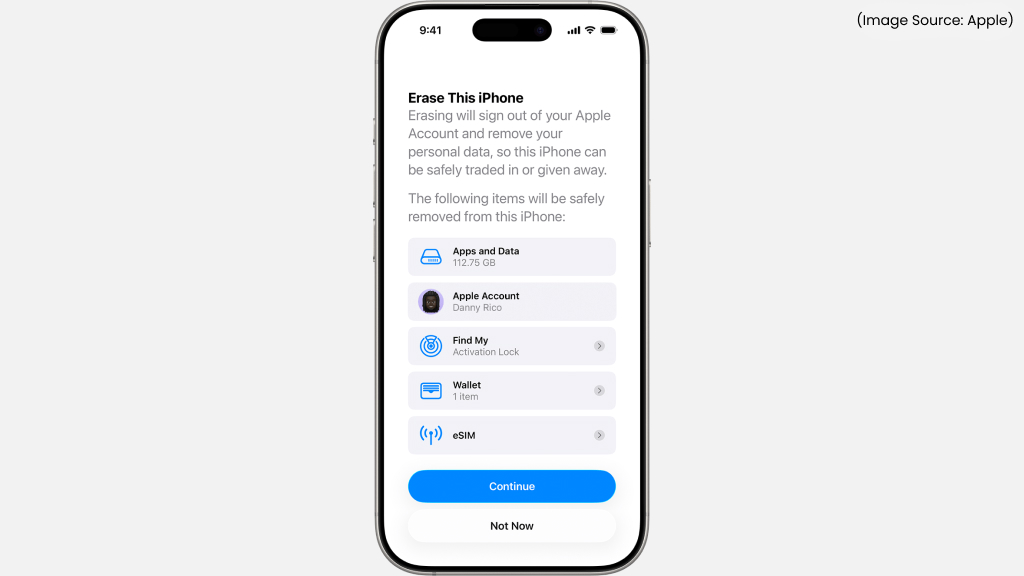
(Image Source: Apple)
A full factory reset is the most thorough software solution and is best reserved for situations where nothing else has worked. This process wipes your iPhone completely, removing all apps, settings, and personal data, and restores it to its original out-of-the-box state. If the camera issue is caused by a deep system error or persistent software glitch, starting fresh can often resolve it.
Before going ahead, make sure to back up your data using iCloud or a computer, since everything on the device will be erased. To begin, navigate to Settings > General > Transfer or Reset iPhone > Erase All Content and Settings. Once the reset is finished, you can either set up your iPhone as new or restore your data from a backup.
While this method takes more time and effort, it can be highly effective for fixing issues that don’t respond to basic troubleshooting. If the problem continues even after a reset, it may point to a hardware-related cause rather than software.
At times, the problem isn’t related to software at all, it can stem from physical factors affecting your device. Here are some Hardware fixes you shouldn’t ignore.
10. Check Your iPhone Lens
(Image Source: Apple)
The camera lens is essential for capturing sharp, clear photos, and even minor dirt can impact how well it performs. Because the lens is exposed, it easily collects fingerprints, dust, and lint from everyday use. These small particles can cause images to look blurry, unfocused, or slightly foggy.
Take a moment to examine both the front and rear lenses in good lighting. If you spot smudges or debris, gently wipe the lens using a clean microfiber cloth. Avoid using rough materials, tissues, or liquid cleaners, as they can damage the protective coating on the lens.
If cleaning doesn’t improve image quality, the issue could be due to scratches or particles trapped inside the lens, which typically require professional repair. Regularly checking and cleaning the lens is a simple habit that can go a long way in maintaining clear, high-quality photos.
11. Remove Case or Accessories
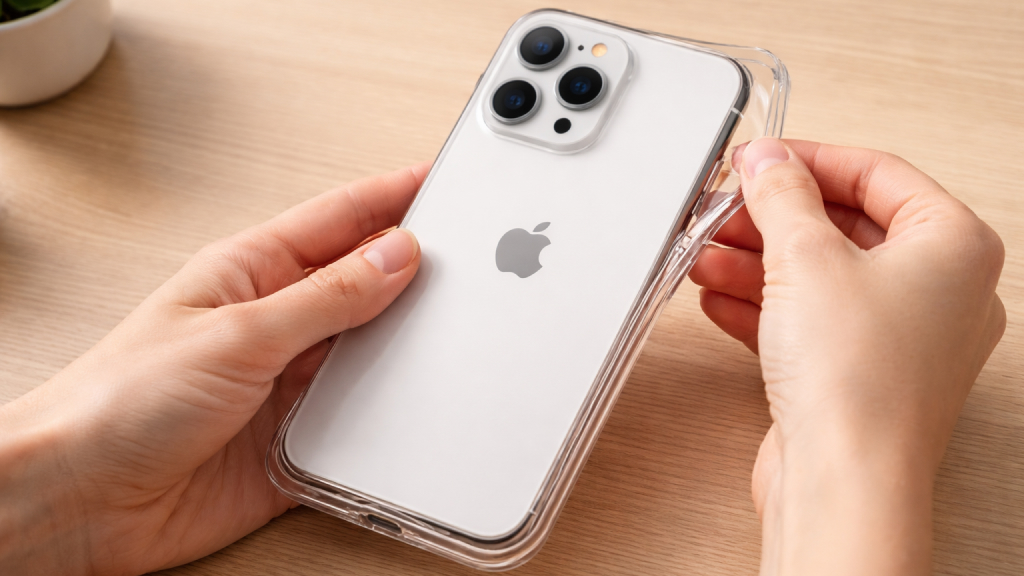
While protective cases and accessories are essential for safeguarding your iPhone, they can sometimes interfere with the camera’s functionality. Ill-fitting or poorly designed cases may partially block the camera lens or flash, resulting in dark spots, shadows, or distorted images. Similarly, accessories such as magnetic mounts, clip-on lenses, or metal attachments can disrupt features like optical image stabilization.
To rule out this possibility, remove your iPhone case and any attached accessories, then test the camera again. If the camera starts working normally, the issue is likely caused by the accessory rather than the device itself. In such cases, consider switching to a well-designed case that properly aligns with the camera module.
Ensuring that nothing physically obstructs the lens or interferes with its operation can quickly resolve many camera-related problems.
12. Check for Overheating
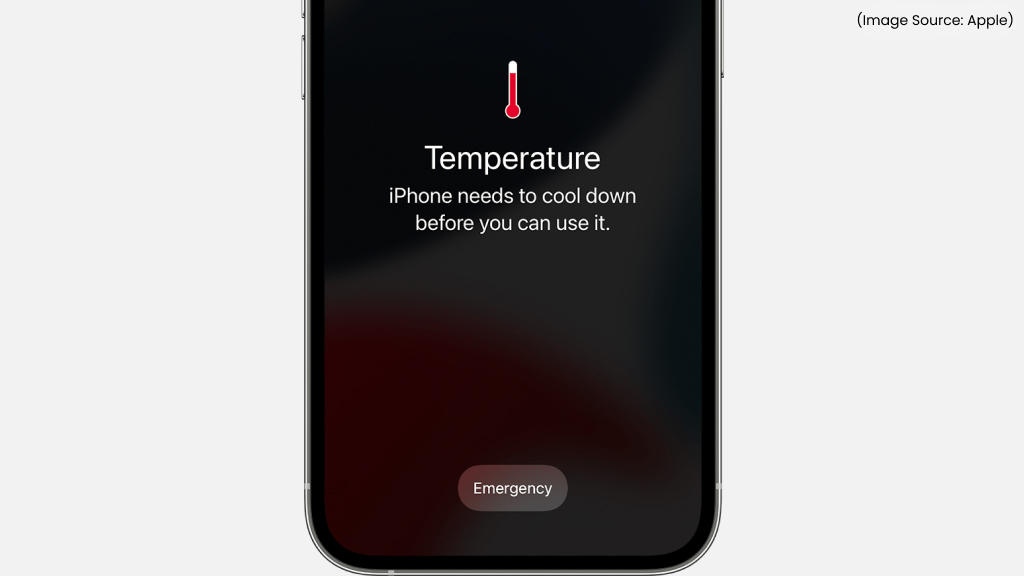
(Image Source: Apple)
Overheating can temporarily affect your iPhone’s performance, including the camera. When the device becomes too hot, whether due to prolonged usage, heavy apps, or exposure to direct sunlight, it may automatically disable certain features to protect its internal components. This can result in the camera not opening, lagging, or turning off unexpectedly.
If your iPhone feels unusually warm, it’s best to stop using it for a while and allow it to cool down. Place it in a shaded, well-ventilated area and avoid charging it during this time, as charging can generate additional heat.
Once the temperature returns to normal, try using the camera again. If overheating happens frequently without a clear reason, it could indicate a deeper issue that may require professional attention. Managing device temperature is important not only for camera performance but also for overall device health.
13. Test the Flash
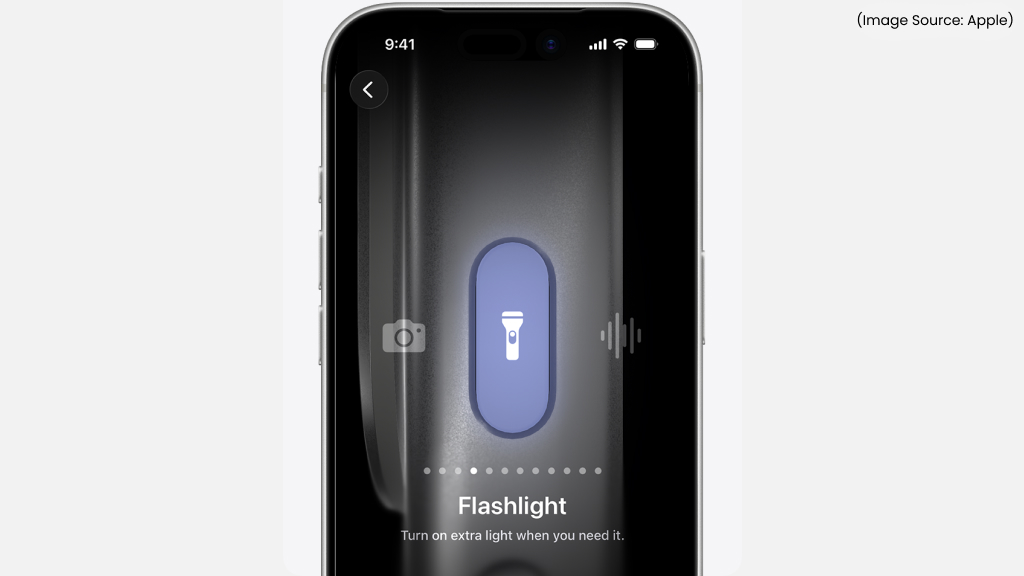
(Image Source: Apple)
If your camera flash isn’t working, it can impact both photography and low-light performance. Start by checking whether the flash is enabled in the Camera app, tap the flash icon and ensure it is set to “On” or “Auto.” If the flash still doesn’t work, test the flashlight feature from the Control Center. This helps determine whether the issue is with the flash hardware or just the Camera app.
If the flashlight works but the camera flash doesn’t, the problem is likely software-related. However, if neither function works, it may indicate a hardware fault. Additionally, keep in mind that your iPhone may disable the flash if it’s overheating, so allow the device to cool down before testing again. Identifying whether the issue is software or hardware-related is key to finding the right solution.
14. Black Screen in Camera App
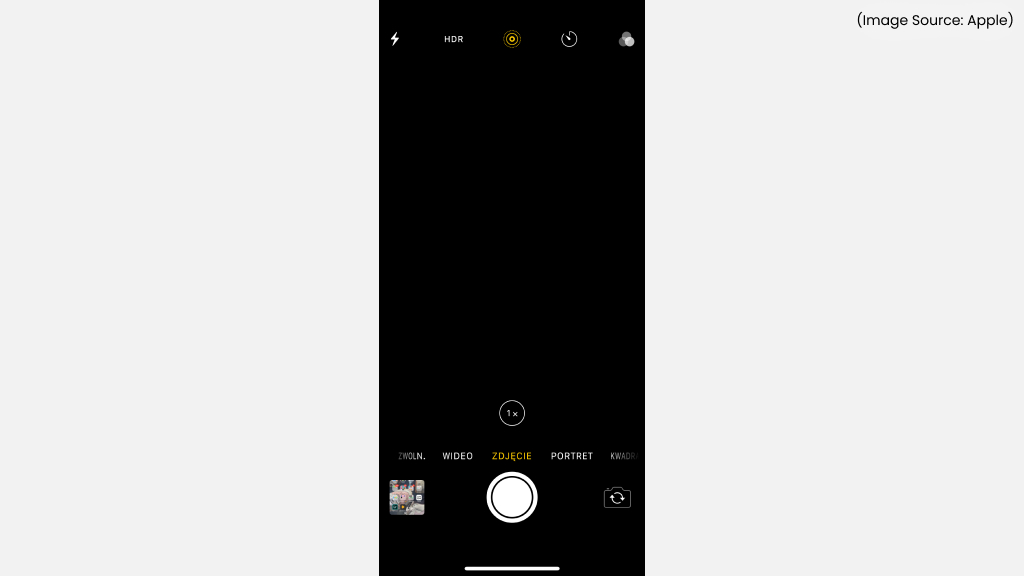
(Image Source: Apple)
A black screen is one of the most common and frustrating iPhone camera issues. When you open the Camera app and see nothing but a dark display, it usually points to a temporary glitch or a deeper system issue. Start by switching between the front and rear cameras, as this can sometimes reset the camera module and restore functionality. If that doesn’t work, close the Camera app completely and reopen it after a few seconds.
Restarting your iPhone is another effective step, as it clears temporary system errors that may be causing the issue. If the problem continues, resetting all settings can help eliminate any misconfigured system preferences. However, if the black screen appears across multiple apps and persists despite these fixes, it’s likely a hardware-related problem that may require professional diagnosis.
15. Camera App Freezing or Crashing
If your Camera app keeps freezing, lagging, or crashing unexpectedly, the issue is likely related to software performance. Start by force-closing the app and reopening it to clear any temporary glitches. If the problem continues, check whether your iPhone is running the latest version of iOS, as updates often include fixes for app stability issues.
It’s also worth considering whether another app might be causing a conflict, especially if the problem started after installing a new app. In such cases, uninstalling or restricting certain apps may help. Restarting your iPhone can further refresh system processes and resolve minor bugs.
Persistent freezing or crashes may indicate deeper software issues, in which case resetting all settings can be an effective next step. Keeping your device updated and optimized can prevent such problems from recurring.
When You Should Seek Professional Help
If you’ve tried all the troubleshooting steps and your iPhone camera still isn’t working, the issue may be hardware-related. Certain warning signs can help you identify when it’s time to stop troubleshooting and seek expert assistance. For instance, if the camera doesn’t function in any app, it suggests a deeper problem beyond software. Visible damage, such as cracks on the lens, is another clear indicator that repair is needed.
Similarly, if the issue began after dropping your iPhone or exposing it to water, internal components may have been affected. Unusual noises when opening the camera or a persistent black screen despite multiple fixes are also red flags. In such cases, it’s best to contact Apple Support or visit an authorized service center for proper diagnosis and repair. Attempting DIY fixes for hardware issues can sometimes make the problem worse, so professional help is the safest option.
Taking timely action can prevent further complications and ensure your device continues to perform at its best. With the right approach, you can get your iPhone camera back to capturing clear, high-quality photos in no time.