Data loss can happen when you least expect it, whether due to hardware failure, accidental deletion, malware, or system crashes. Protecting your data with a reliable backup system is more important than ever.
Whether you use a Windows PC or a Mac, both platforms offer built-in tools and flexible methods to safeguard your files. In this guide, you’ll learn how to back up your data effectively using external drives, cloud storage, and full system backups.
Why Backups Matter More Than Ever

Your computer holds far more than just files, it contains personal memories, important documents, and critical work data. Losing this information can be stressful, time-consuming, and in some cases, financially damaging.
A proper backup ensures:
- You can recover files after accidental deletion
- Your system can be restored after a crash
- You’re protected against ransomware and malware
- Your data remains accessible even if your device is lost or damaged
That’s where a reliable backup becomes essential. With a proper backup in place, you can quickly recover lost files, restore your system after a failure, and stay protected against threats like ransomware. It also ensures your data remains accessible even if your device is lost, stolen, or damaged.
A smart way to stay protected is by following the 3-2-1 backup rule:
- Keep 3 copies of your data
- Store them on 2 different types of storage
- Keep 1 copy offsite (cloud or remote storage)
How to Back Up Data on Windows Systems
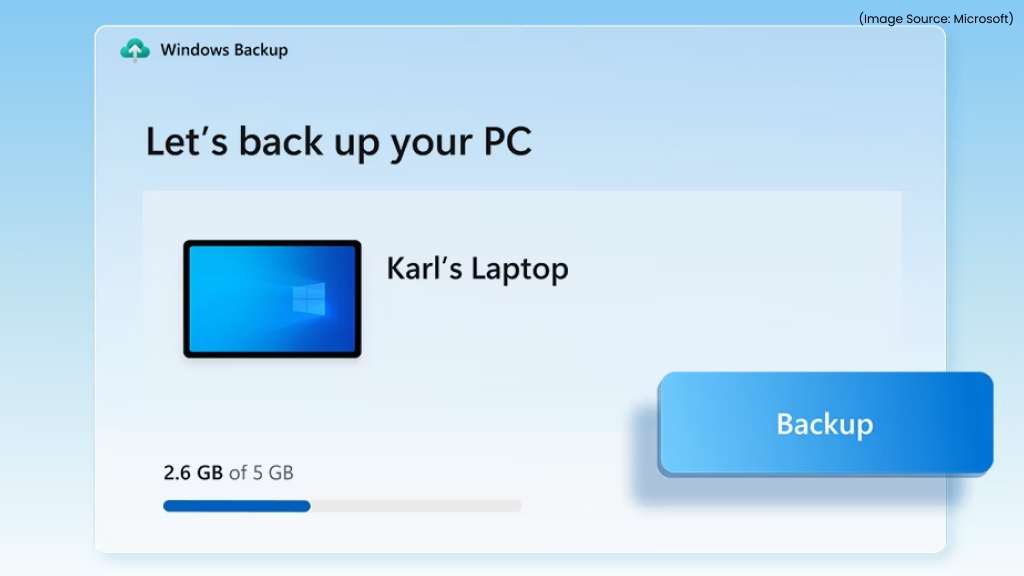
(Image Source: Microsoft)
Windows offers several built-in tools to help you protect your files. You can choose between automatic backups, cloud syncing, or full system images.
1. Back Up Files Using File History
File History is Windows’ built-in solution for automatically backing up personal files like documents, photos, and desktop data.
How to Set It Up:
- Connect an external hard drive
- Open Control Panel
- Go to System and Security > File History
- Click Turn On
Once enabled, File History automatically saves versions of your files at regular intervals.
Customizing File History:
- Set backup frequency (e.g., every hour)
- Choose how long versions are stored
- Exclude folders you don’t want backed up
This feature is ideal for everyday file protection because it keeps multiple versions of files, allowing you to restore older copies if needed.
2. Create a Full System Backup (System Image)
If you want complete protection, creating a system image is the most reliable option. This method captures your entire system, including Windows, apps, settings, and files.
Steps to Create a System Image:
- Connect a large external drive
- Open Control Panel
- Go to System and Security > Backup and Restore
- Click Create a system image
- Select your external drive as the destination
- Confirm and start the backup
Why Use This Method?
This approach allows you to:
- Restores your entire system in a single step
- Makes it extremely useful during major system failures or hardware replacements.
- It also saves significant time by eliminating the need to reinstall the operating system, applications, and settings manually.
3. Use OneDrive for Cloud Backup
Cloud storage adds an extra layer of protection by keeping your files accessible online.
How It Works:
- Sign in to your Microsoft account
- Enable folder syncing for Desktop, Documents, and Pictures
- Files are automatically uploaded and updated
Windows users get 5GB of free storage, which is enough for essential files.
Limitations:
While cloud backup solutions are convenient, they are not ideal for creating full system backups, as they typically focus only on selected files and folders. Free storage is often limited, which means you may need to purchase additional space for larger backups.
Additionally, uploading large amounts of data can be slow and depends heavily on your internet speed. There are also privacy concerns to consider when storing sensitive data online.
4. Try Third-Party Backup Tools
If you need more advanced backup capabilities, third-party software can be a great option. Tools like Macrium Reflect, AOMEI Backupper, and Veeam Agent for Windows offer greater flexibility and control. They typically include features such as incremental backups to save space, bootable recovery media for emergencies, and faster, more efficient restore processes compared to built-in tools.
5. Restore Your Windows Backup
If your system stops working or fails to boot, you can restore it using a previously created backup.
Start by connecting your backup drive. Next, boot your computer using a Windows recovery USB drive. Once the recovery environment loads, select “Repair your computer” and then choose “System Image Recovery.” This process will restore your PC to the exact condition it was in at the time the backup was created, including files, settings, and installed applications.
How to Back Up Data on Mac Systems
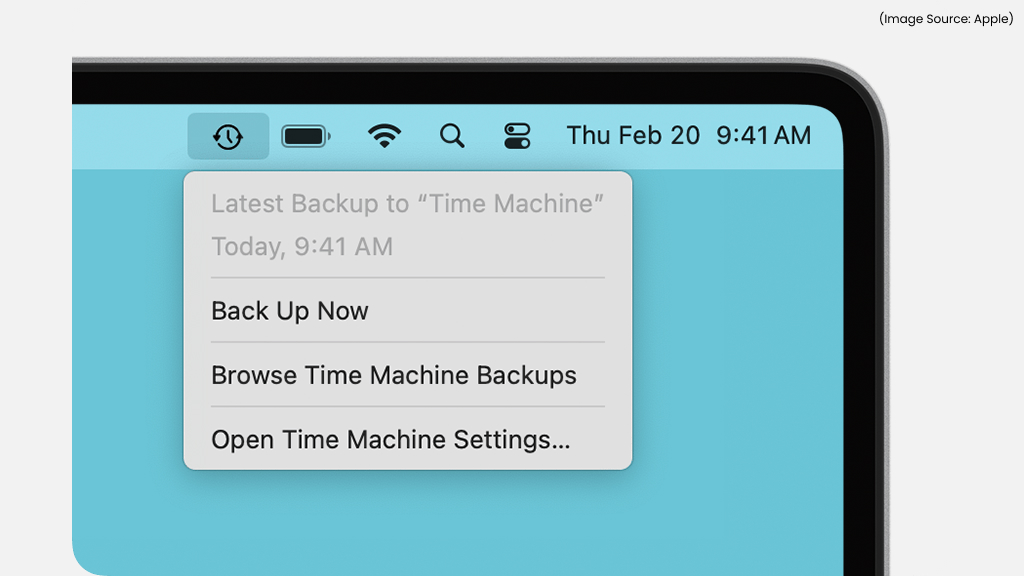
(Image Source: Apple)
Mac systems come with powerful, built-in backup tools designed to keep your data safe with minimal effort. With automated features and seamless integration, backing up your files on a Mac is both simple and reliable.
1. Use Time Machine (Recommended)
Time Machine is macOS’s built-in backup tool that automatically saves your files, apps, and system settings.
How to Set It Up:
- Connect an external drive
- Open System Settings
- Go to General > Time Machine
- Click Add Backup Disk
- Select your drive and confirm
Once set up, Time Machine automatically begins backing up your data without requiring any manual effort. It performs regular backups on an hourly, daily, and weekly basis, ensuring your files are always up to date.
The system uses incremental backups, meaning it only saves changes made since the last backup, which helps save storage space. It also makes file restoration simple and allows you to access previous versions of your files, making it easy to recover deleted or modified data.
2. Perform Manual Backups
If you only need to save a few files, manual backup is the simplest option.
Steps:
- Connect a USB drive or external storage
- Open Finder
- Copy important files
- Paste them into the external drive
This method works best for quick backups but requires manual updates whenever files change.
3. Back Up with iCloud
iCloud allows you to store important files securely online and access them seamlessly across all your Apple devices. It automatically syncs data such as Desktop and Documents folders, photos and videos, as well as contacts, notes, and calendars, ensuring everything stays up to date without manual effort. This makes it especially useful for users who work across multiple devices and need instant access to their files from anywhere.
However, iCloud does have its limitations. The free storage is limited to 5GB, which may not be sufficient for larger files or backups. Additionally, it focuses on syncing selected data rather than creating a complete system backup, so it should be used alongside other backup methods.
4. Clone Your Mac (Bootable Backup)
Cloning your Mac creates an exact, fully bootable copy of your entire system, including macOS, applications, and files. This means you can start your Mac directly from the backup drive if your main system fails. It’s especially useful in emergency situations, as it allows you to continue working with minimal interruption while you fix or replace your internal drive.
Popular tools like Carbon Copy Cloner and SuperDuper make the cloning process simple, offering reliable and efficient ways to create and maintain a complete backup.
5. Best Practices for Mac Backups
To keep your data safe, it’s important to follow a few smart backup habits. Always use an external drive with at least twice the storage capacity of your Mac to ensure there’s enough space for future backups. Keep your backup drive connected regularly so automatic tools like Time Machine can run without interruption.
Enabling encryption is also recommended to protect sensitive data. For maximum safety, combine local backups with cloud storage like iCloud, so your files remain secure even if your physical device or backup drive is lost or damaged.
Offline vs Cloud Backup: Which One Should You Choose?

Both offline and cloud backups serve different purposes, and using both together provides the best protection.
Offline Backup
Pros of Offline Backup (External Drives)
- Fast backup and restore
- No internet required
- Full system backups possible
Cons of Offline Backup (External Drives)
- Can be damaged due to physical accidents or wear and tear
- Risk of theft or loss if the device isn’t stored safely
- Needs to be connected manually for backups
- Backups may not stay updated without regular use
- Not accessible remotely like cloud storage
Cloud Backup
Pros of Cloud Backup
- Accessible from anywhere
- Safe from local hardware failure
- Automatic syncing
Cons of Cloud Backup
- Limited free storage
- Slower for large backups
Essential Backup Tips You Should Follow

- Back up regularly
Schedule frequent backups so your latest files are always protected
- Use multiple methods
Combine external drives with cloud storage for better security
- Test your backups
Make sure your files can be restored without any issues
- Keep backups updated
Ensure your backup copies reflect your most recent data
- Use encryption
Protect sensitive files from unauthorized access and security risks
Common Backup Mistakes to Avoid

Even if you’re using the right tools, simple mistakes can still leave your data at risk.
- One common issue is relying only on cloud storage, which may not cover full system recovery.
- Many users also forget to check whether their backups are actually working, which can lead to unpleasant surprises.
- Storing backups in just one location increases the risk of total data loss.
- Ignoring system image backups means missing out on complete system restoration options, and failing to update backup schedules can result in outdated and less useful copies of your data.
Backing up your data is one of the simplest yet most important steps you can take to protect your digital life. Whether you’re using Windows or macOS, both platforms offer reliable tools that make the process easy, even for beginners. By combining multiple backup methods, you ensure that your data remains safe no matter what happens.